
From Building to Launching and Every Step in Between
Let’s start by celebrating that you just got to the second-to-last module of the Ion Beginner Certification. Congratulations on making it this far!
We are sure you have already learned a lot about the platform and might be eager to learn even more — especially how to build interactive experiences.
And that’s what we are about to do: we will dig deeper into the content production process. Starting right here, going over every step between the building and the launching of an experience.
Let’s get to it!
Proudly made with
Content Definitions
Now, the first thing when it comes to content creation is defining important aspects of the experience you’re about to create.
Remember to go over:
journey is the content intended?
Copywriting
Next, it’s time to write down the content!
You can do this after the design stage if you’d like. Just keep in mind that writing the content before will allow you to plan your design accordingly.
Just remember to follow best practices. Mostly, make sure your copy is:
Design
Another important part of the content creation process is the design stage.
This stage has its own timeline. Before you begin building the content inside the platform, for example, we recommend you try making a simple sketch to ideate it.
Ultimately, these are the steps you should consider:
- Brand Space
- Domains
- Portfolios
- Campaigns
- Creatives
- URLs
Final Settings
Then, before you hand the experience over to QA, double-check the final settings.
They could be a set of rules, tags, conversion point, actions or behaviors, form fields, data fields, data values, or SEO meta tags, among others.
Just make sure you test your content with a designer's perspective to see if it is:
Quality Assurance
Next, your content needs to be tested and revised.
In case you’re the one responsible for the quality assurance of interactive experiences, remember to do a full test and look for:
values or rules
problems
That might seem like a lot, but you can always ask your team to help you out. Having different people test your content is the best way to ensure no problem goes unnoticed.
Now, when it comes to tools, for a better QA process we recommend using:
Launch
After you make all the adjustments needed, it’s time to launch your experience!
Yep. Now’s the time to share the amazing interactive content you created with the rest of the world — more specifically, with your audience.
For a successful launch, always remember to:
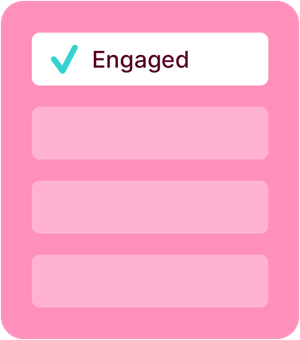
1. Change your content status to Engaged
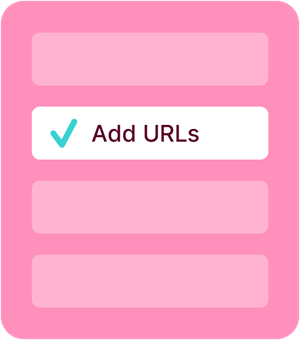
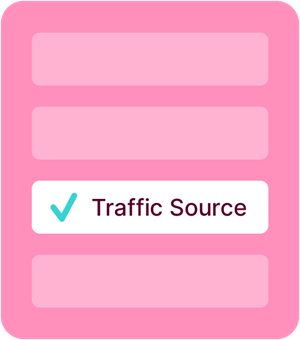
2. Create new URLs based on traffic source
3. Set up the correct category and subcategory for data analysis
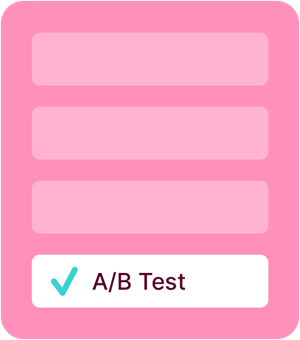
4. Run an A/B test with two versions of that content if needed
1. Change your content status to Engaged
2. Create new URLs based on traffic source
3. Set up the correct category and subcategory for data analysis
4. Run an A/B test with two versions of that content if needed
1. Change your content status to Engaged
2. Create new URLs based on traffic source
3. Set up the correct category and subcategory for data analysis
4. Run an A/B test with two versions of that content if needed
1. Change your content status to Engaged
2. Create new URLs based on traffic source
3. Set up the correct category and subcategory for data analysis
4. Run an A/B test with two versions of that content if needed
1. Change your content status to Engaged
2. Create new URLs based on traffic source
3. Set up the correct category and subcategory for data analysis
4. Run an A/B test with two versions of that content if needed
- Brand Space
- Domains
- Portfolios
- Campaigns
- Creatives
- URLs